Seated Shoulder External Rotation

What Is the Seated Shoulder External Rotation?
Seated Shoulder External Rotation is an isolation exercise that primarily targets the shoulders, working the infraspinatus and teres minor of the rotator cuff with light help from the rear deltoid and the muscles between the shoulder blades. It is a beginner-level movement done without any weight: you sit on a sturdy chair with your elbows bent and tucked against your sides, then sweep both forearms out to the sides and back in.
Turning the upper arm outward is part of everyday reaching, such as brushing hair, putting on a coat or reaching for a seat belt, and it is often one of the first motions a stiff shoulder loses. This drill keeps that motion in regular use and teaches the rotator cuff to turn the arm while the shoulder stays settled. It fits well in a warm-up, a chair-based session or a home program, and it is a common early step in shoulder programs before any resistance is added.
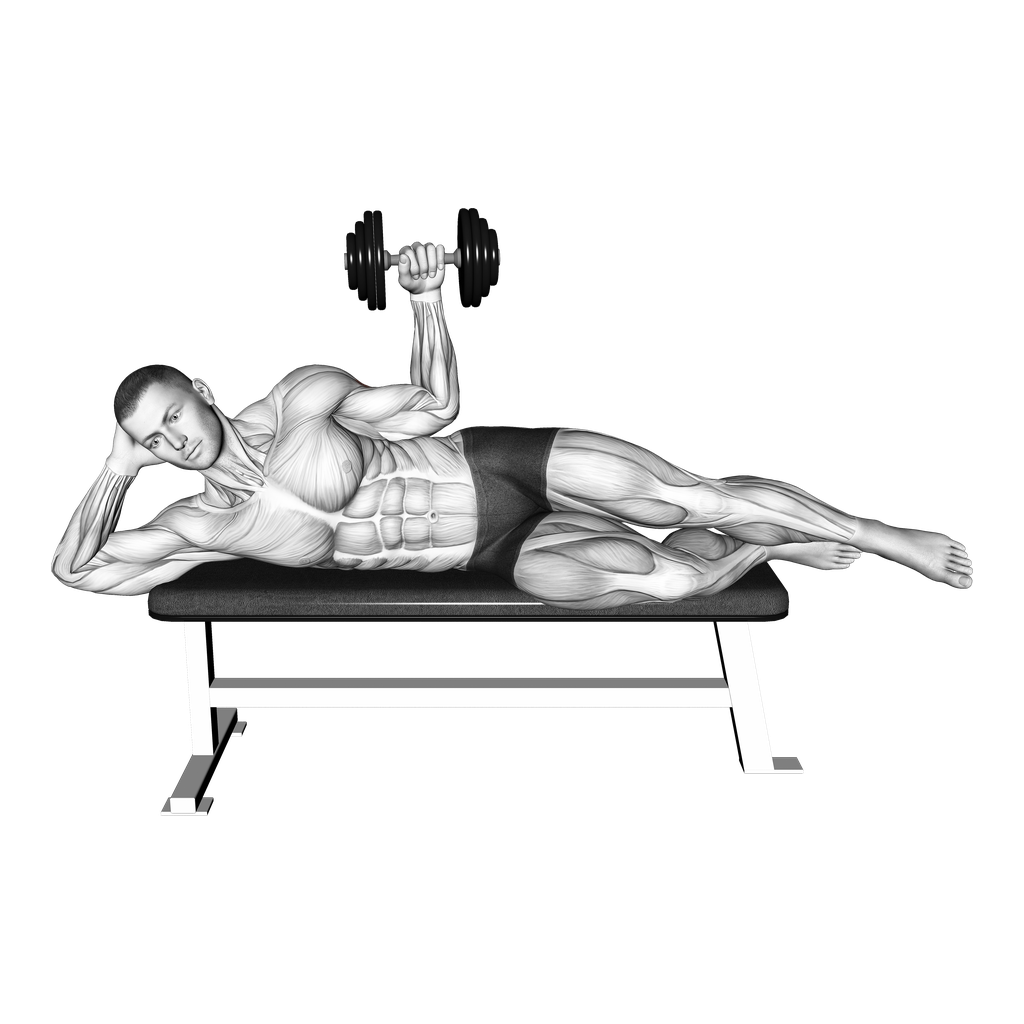
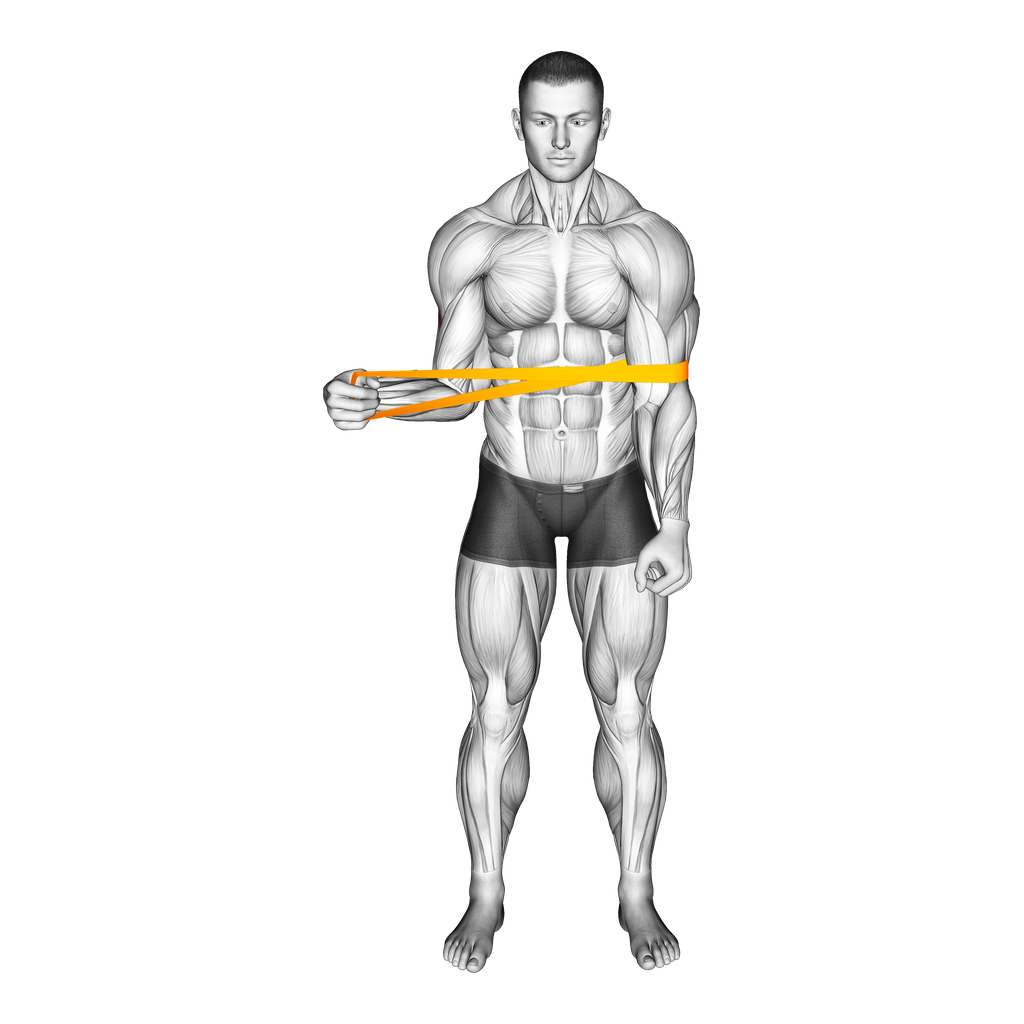
Because the forearms move in a level arc, gravity barely resists the rotation, so the drill builds control and range rather than strength. Keeping the elbows at the sides is what keeps the work on the rotator cuff; once they drift away, the rear deltoid and upper back start moving the hands instead. When the full range feels easy and pain-free, Band Shoulder External Rotation adds load to the same motion, and Dumbbell Side-Lying Shoulder External Rotation and Cable Standing Shoulder External Rotation load it further.
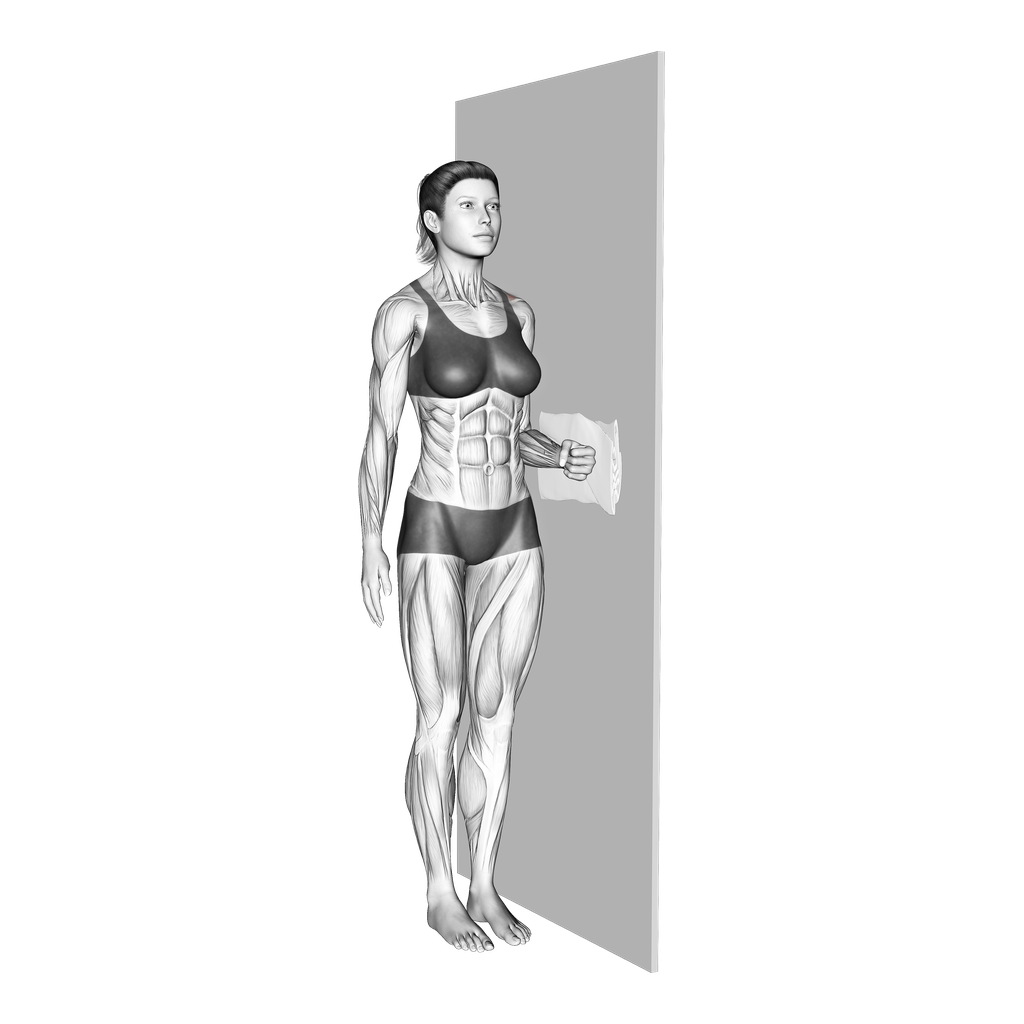
The seated version suits older adults, clients with limited balance or mobility, and anyone returning to shoulder work after a period of pain once a clinician has cleared active movement. If turning the arms out on their own is too painful or too limited, Standing Isometric Shoulder External Rotation works the same muscles without moving the joint, and Stick Standing Shoulder External Rotation lets the other arm help the rotation along.
The effort should be felt at the back of the shoulders, not in the neck or the low back. Moving slowly and stopping where the elbows can no longer stay at your sides keeps the drill honest, even if that point comes well short of the forearms pointing straight out.
Muscles Worked
- Infraspinatus
- Primary
- Teres Minor
- Primary
- Deltoid
- Low
- Upper Trapezius
- Minimal
Instructions
- Sit tall on a sturdy armless chair without leaning on the backrest, with your feet flat on the floor and your knees comfortably apart.
- Let your upper arms hang by your sides and bend your elbows to about 90 degrees.
- Make loose fists and bring your forearms forward so your hands sit close together in front of your stomach, wrists straight.
- Relax your shoulders down away from your ears and keep your neck long.
- Keeping your elbows against your sides, slowly turn both forearms outward so your hands sweep apart in a level arc.
- Stop when your forearms point out to the sides, or sooner if your elbows start to leave your sides, your back starts to arch or the front of your shoulder pinches.
- Pause for a moment and feel the work at the back of your shoulders.
- Slowly sweep your hands back in until they meet in front of your stomach again.
- Breathe steadily throughout and repeat for the planned number of reps.
Common Mistakes
Elbows drifting away from the sides
Letting the elbows float out or forward turns the drill into an arm sweep, so the hands travel while the shoulders barely rotate.
Shrugging the shoulders
Shoulders creeping up toward the ears shifts the effort into the neck and upper trapezius instead of the back of the shoulders.
Leaning back to open wider
Arching the low back or leaning the trunk back makes the hands look farther apart without adding any shoulder rotation.
Forcing the end range
Pushing the forearms past the point where they turn easily can pinch the front of the shoulder, so each rep should end where the elbows can still stay at your sides.
Slumping in the chair
A rounded upper back rolls the shoulders forward, which blocks outward rotation and crowds the front of the joint.
Bending the wrists
Cocking the wrists back moves the fists outward without turning the upper arms, so keep the wrists straight in line with the forearms.
Injuries
Seated Shoulder External Rotation is a low risk exercise when performed with proper technique. There is no weight to control and the chair supports the body, so the main risks come from forcing the range rather than from load.
The front of the shoulder is the usual strain point. Pushing the hands past the point where the rotation comes easily, or letting the shoulders roll forward in a slumped posture, can pinch the front or top of the joint. Shrugging shifts the effort into the neck and upper trapezius, and arching the low back to sweep the hands farther strains the back without adding any shoulder rotation. Sit tall, keep the shoulders relaxed and down, and let the elbows staying at your sides decide where each rep ends.
If active rotation hurts or the range is very small, start with Standing Isometric Shoulder External Rotation or the assisted Stick Standing Shoulder External Rotation. Once the full range is easy and pain-free, progress to Band Shoulder External Rotation with a light band.
Stop if you feel sharp or pinching pain in the front or top of the shoulder, a painful click or catch, or numbness or tingling down the arm, and see a clinician if pain lingers after the session. After shoulder surgery or a dislocation, follow your surgeon's or physical therapist's timeline before doing active rotation, since it is often restricted for several weeks.
- Primary Focus
- Shoulders
- Equipment
- Body weight and other
- Modality
- Stretching
- Difficulty
- Beginner
Alternative Exercises
 Beginner
Standing Isometric Shoulder External Rotation
Body Weight · Other
 Beginner
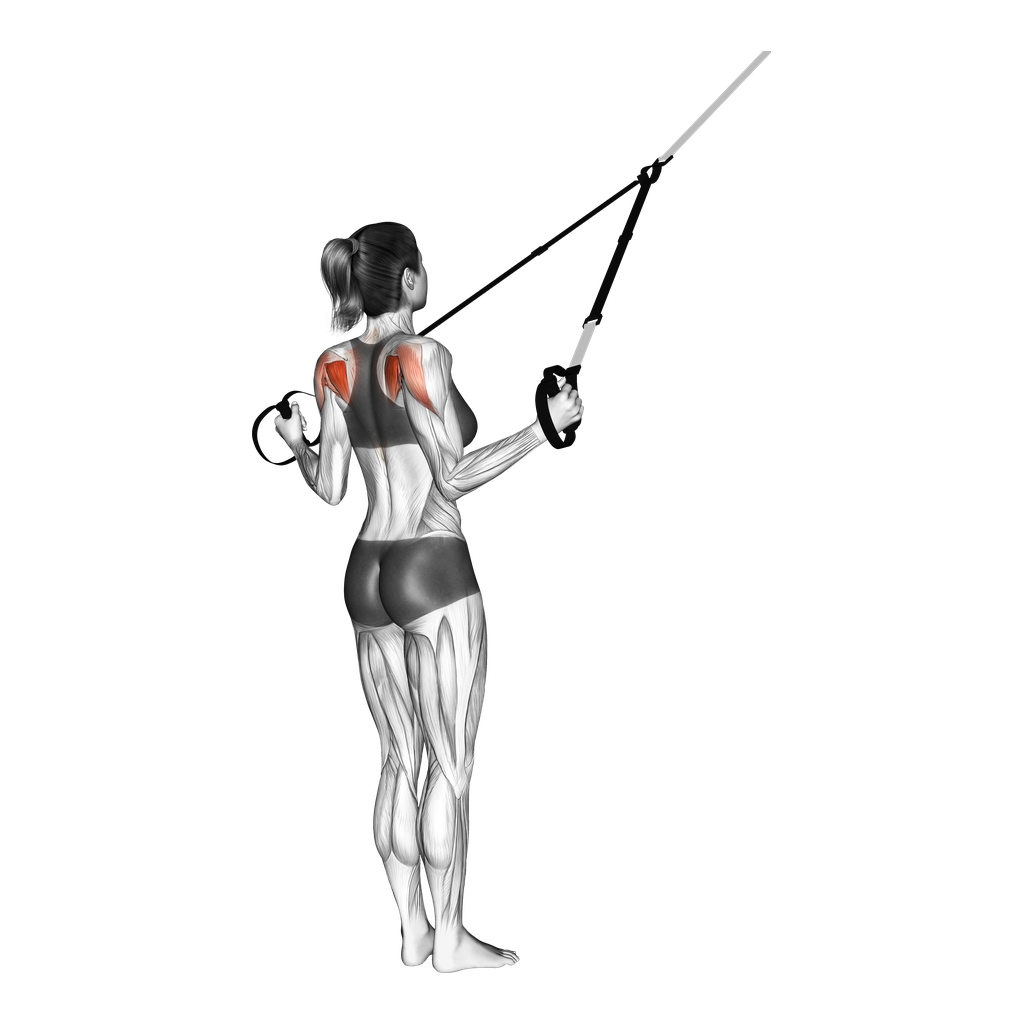
TRX Shoulder External Rotation
Suspension Trainer · Body Weight
 Beginner
Dumbbell Side-Lying Shoulder External Rotation
Dumbbell · Bench
 Beginner
Band Shoulder External Rotation
Resistance Bands
 Beginner
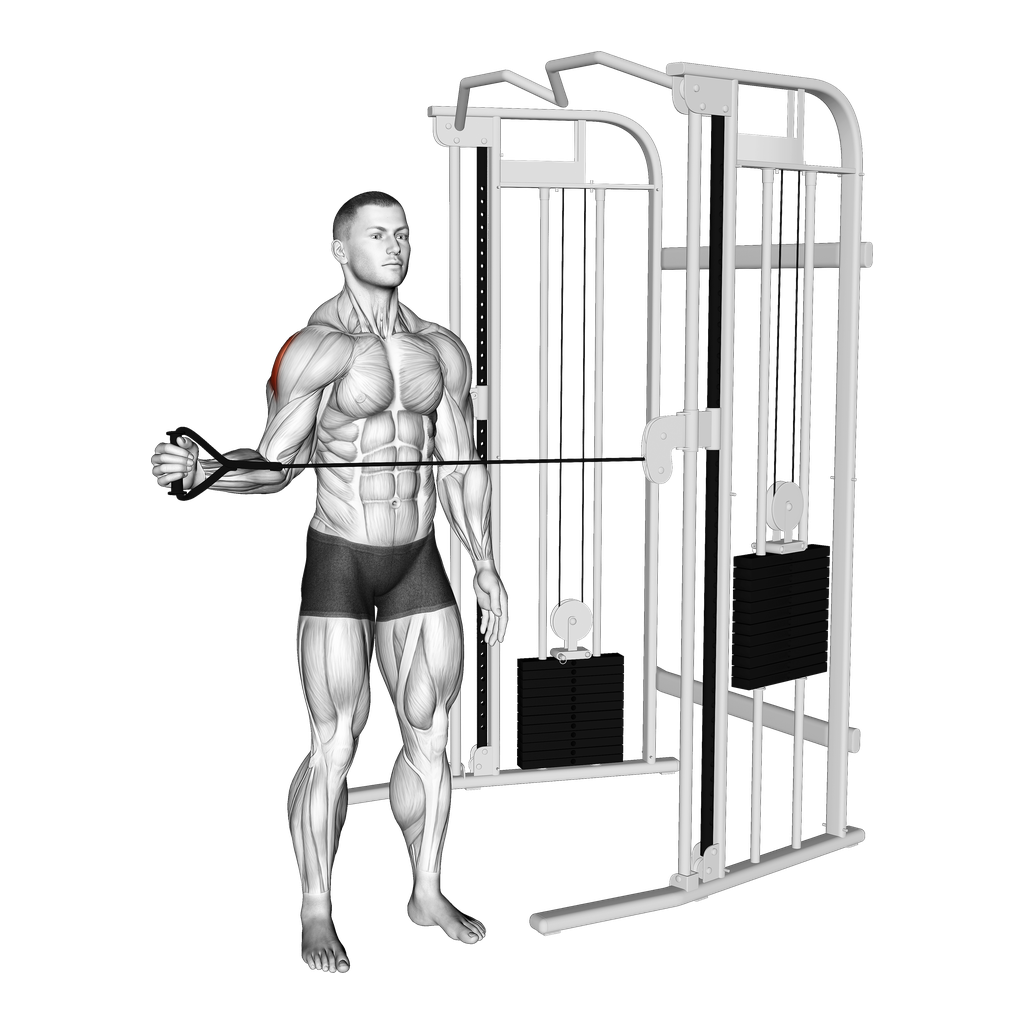
Cable Standing Shoulder External Rotation
Cable


Frequently Asked Questions
- Q: Does this build strength without any weight?
Only a little. The forearms move in a level arc, so gravity gives the rotation almost no resistance, and the drill mainly builds range and control. Once it feels easy, Band Shoulder External Rotation adds load to the same motion.
- Q: How many reps should I do, and how often?
Start with 1 to 2 sets of 10 slow reps and build toward 2 to 3 sets of 10 to 15. Because it is unloaded, it can be done daily as long as the shoulders feel no worse afterward.
- Q: Should I squeeze my shoulder blades together?
A light draw of the shoulder blades back as the hands open is natural, but the movement should come from turning the upper arms, not from pinching the blades or lifting the chest. To train the squeeze on its own, use Seated Scapular Squeeze.
- Q: Is it normal for my shoulder to click during the movement?
Painless clicking is common and usually harmless. A click that hurts or comes with catching or weakness is a reason to stop and have the shoulder checked.
- Q: Can I do this after shoulder surgery or with a frozen shoulder?
Only with your clinician's go-ahead. After a rotator cuff repair, active rotation is usually restricted for several weeks, and with a frozen shoulder the drill should stay within a range that does not cause sharp pain.